
Lighting is the cornerstone of realistic graphics in 3D work and a vital aspect in making VR and AR projects feel as lifelike as possible. When working with DuPont to build a VR experience which allowed users to feel as though they were walking around a kitchen, lighting was crucial in ensuring that the surfaces and materials looked like the real products.
However, whilst it’s arguably the most important element of 3D work it is also famously difficult to get right. Not only does the artist / developer have to place and set up all of the lights to match the artistic vision, they need to do so in a way that allows the target platform to render them performantly, as lighting can be extremely taxing; this makes the correct placement and setup that much more paramount.
Here’s an insight into the process we go through when working on such projects, using the 3D real-time development platform, Unity.
1. Direct & indirect lighting
Lighting gives us the power to make scenes more believable by adding shading, tone and colour and it also gives objects a familiar physical quality, which connects them to the real world. However, by default when using Unity, scenes are only lit by direct light, which is a very small portion of light.
Direct light is where our added light source illuminates an object, however this only represents a small part of how light in the real world works. In reality, only some of the light that shines on an object bounces back to our eye (or in the case of Unity, the in-scene camera). The remaining light bounces off said object and hits other objects in the scene continuously until it dissipates all its energy. Every time the light hits another object it not only illuminates it, but it also imparts some of its colour.
This is called indirect lighting and for a while it was missing completely from real-time applications. This is because, without clever tricks, it is virtually impossible to create indirect lighting in such applications. If we had unlimited computing power, the way to calculate the behaviour of indirect lighting would be to simulate the shooting out of light rays and then running a vast number of calculations as the light hit each material in the scene. Unfortunately, this is too expensive for computers to do and, despite the advancement of computing power, it is still virtually impossible to do in real-time applications.
Some people have come up with solutions, including highly technical methods such as Cry-Engines and Nvidia’s Voxel based approach. These work though a process called vocalization, where opacity and emittance information are encoded in the computing stage. On the other end of the spectrum are less technical solutions, where all the light is drawn as it should be onto the individual textures by the artist themselves during the asset creation stage. We refer to these group of systems as GI (Global Illumination) systems.
Unity’s GI system comes in the form of a light mapper, which is a tool that helps to make the required calculations beforehand and then uses the resulting data while the app is running to render indirect lighting at a much cheaper cost.
There are two different systems in Unity to do this. The first is a pre-computed real-time system where rougher optimised estimations are made ahead of time and then used when the game is playing. The main advantage of this system is that you can modify the lighting at runtime.
The second is the baked system, (the one we are focusing on for the purpose of this article), where a sample of light bounces are simulated beforehand, saved directly onto a texture and then rendered on top of the scene.
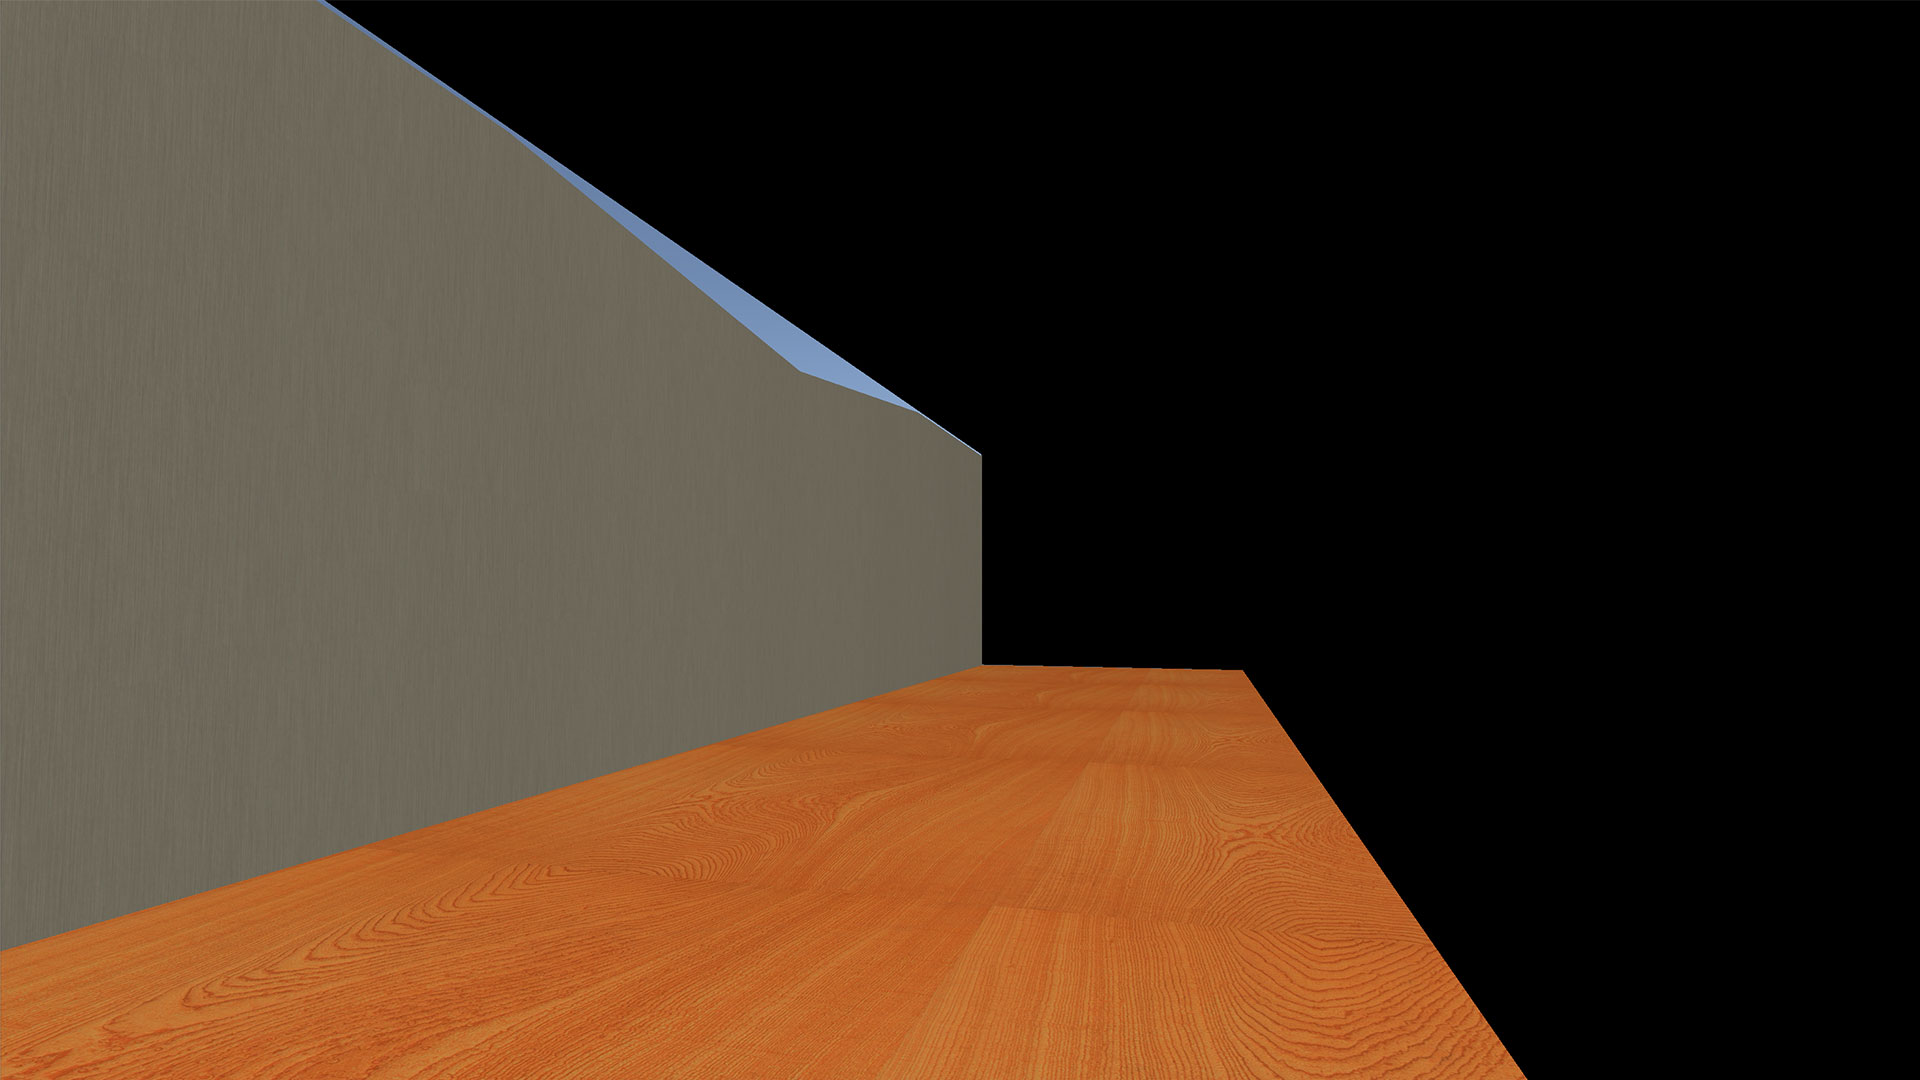
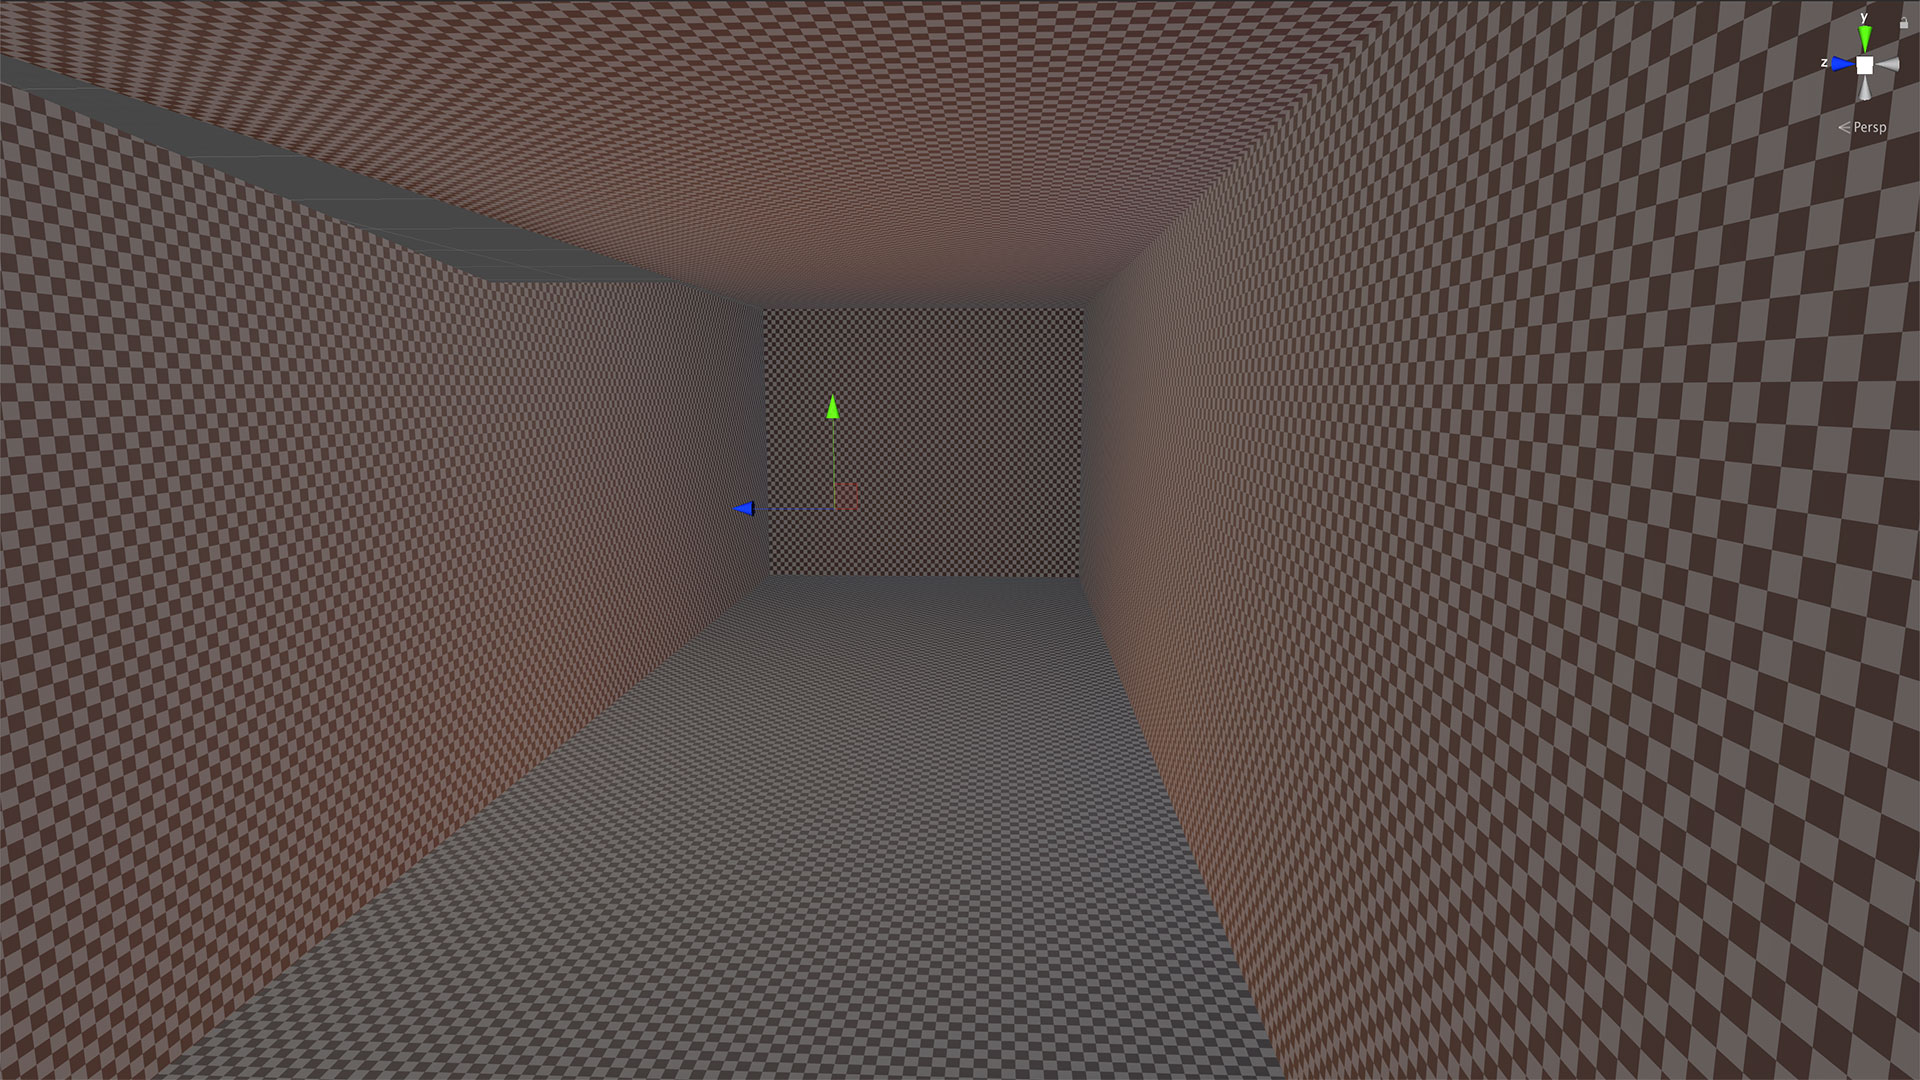
An example scene with only default lighting in place
Before setting up our GI we set up our general lighting. We do this using real-time lights, so that changes are reflected instantly. Lighting requires a lot of fine tuning so waiting for GI to finish baking (computing the indirect light) slows down the development process too much.
When lighting a scene it’s important to start with broad strokes, e.g. the large dominant lights of the scene; for example, the sun in outdoor scenes, or the strongest light source in indoor scenes. The lighting of the scene can then be adjusted by adding and fine tuning the smaller supplementary lights.
After the general lighting has been set up, we mark the objects that we want to contribute to indirect lighting as static – static objects cannot move. This is important because the light bouncing off an object cannot be calculated if the object isn’t there; because of this, static objects are usually either the larger objects in the scene or the small scene decorations that do not move.
2. Bake – refine – bake
Once lighting has been set up we start our first bake. It should be noted that this process can take a very long time depending on the complexity of the scene.
Once the bake is finished the scene should look different (and, fingers crossed, brighter!) Lighting and materials are then refined to bring them as close as possible to the artistic vision of the project before a second bake is implemented. This process is repeated continuously until the scene looks correct. Top tip: while in this cycle of baking and refining it’s advisable to use the default or lower quality settings, so the slow baking step doesn’t impede the number of iterations that can be done.
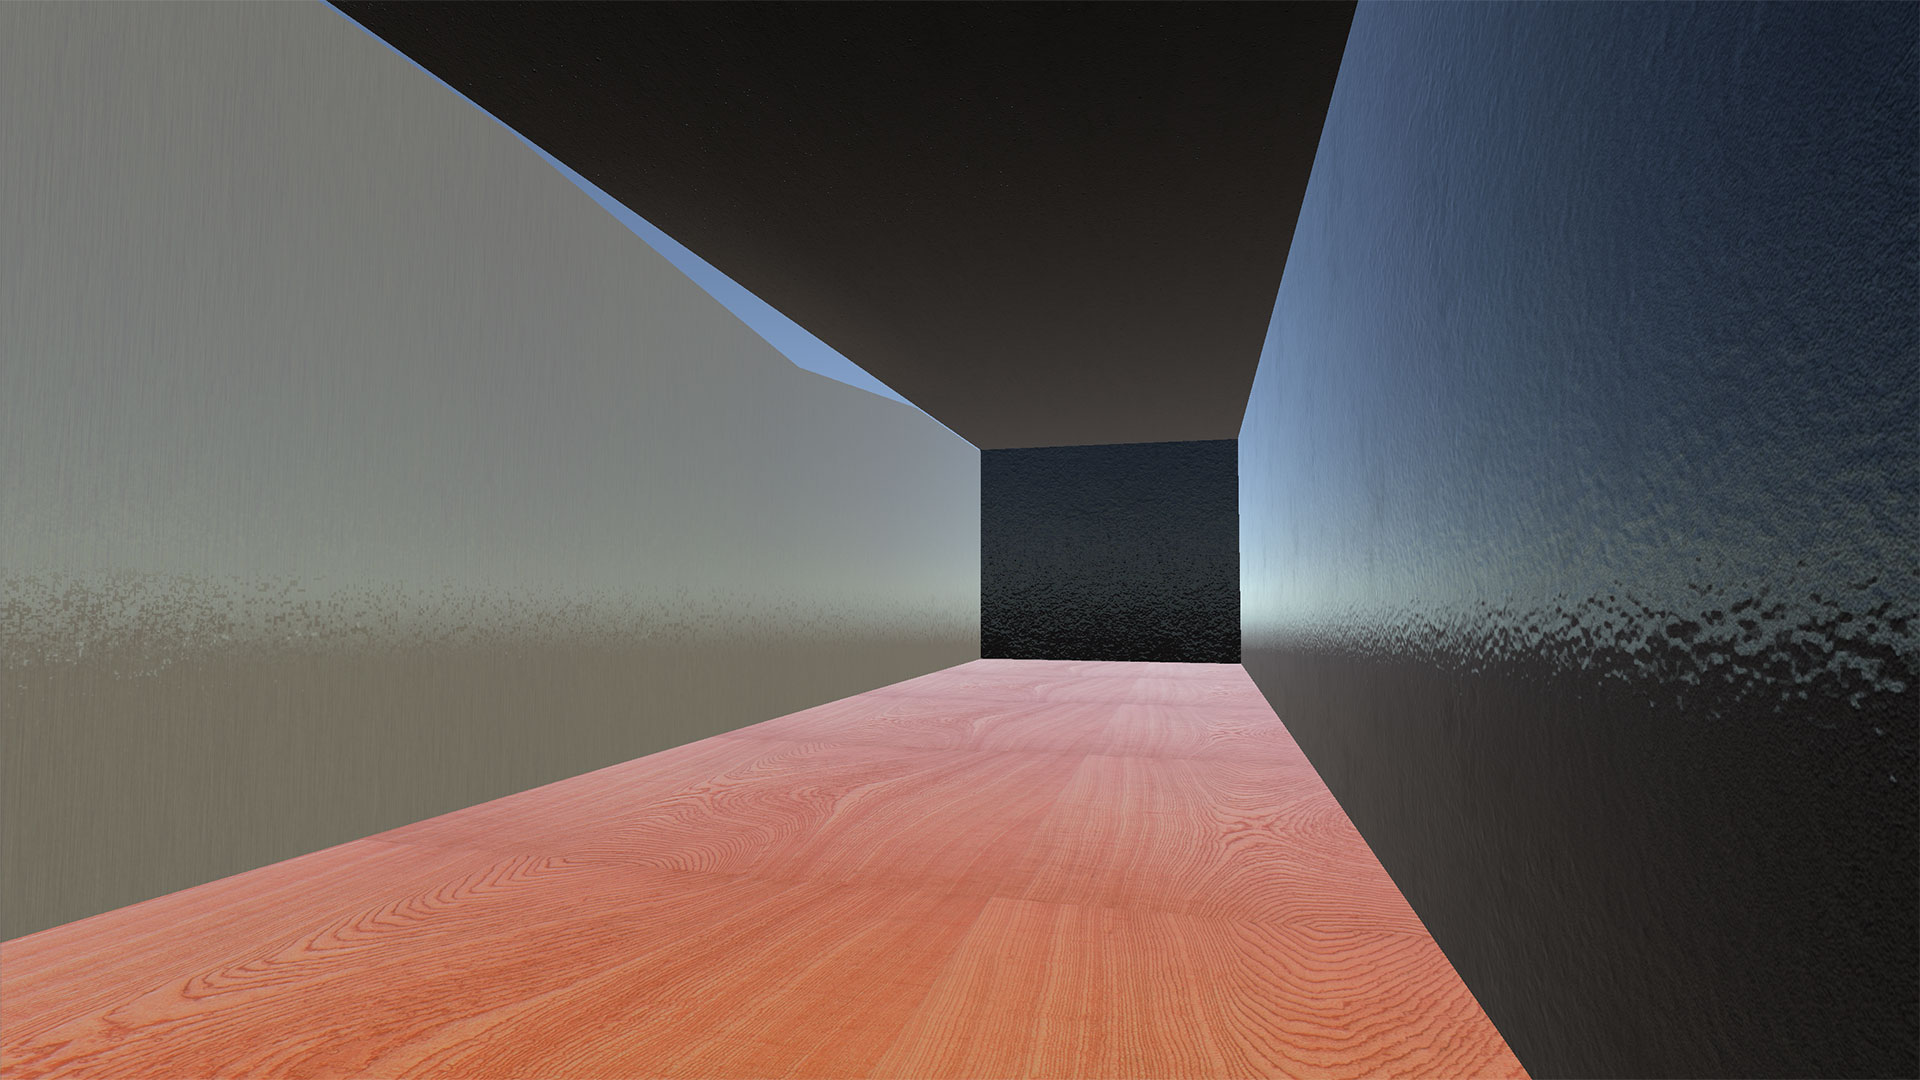
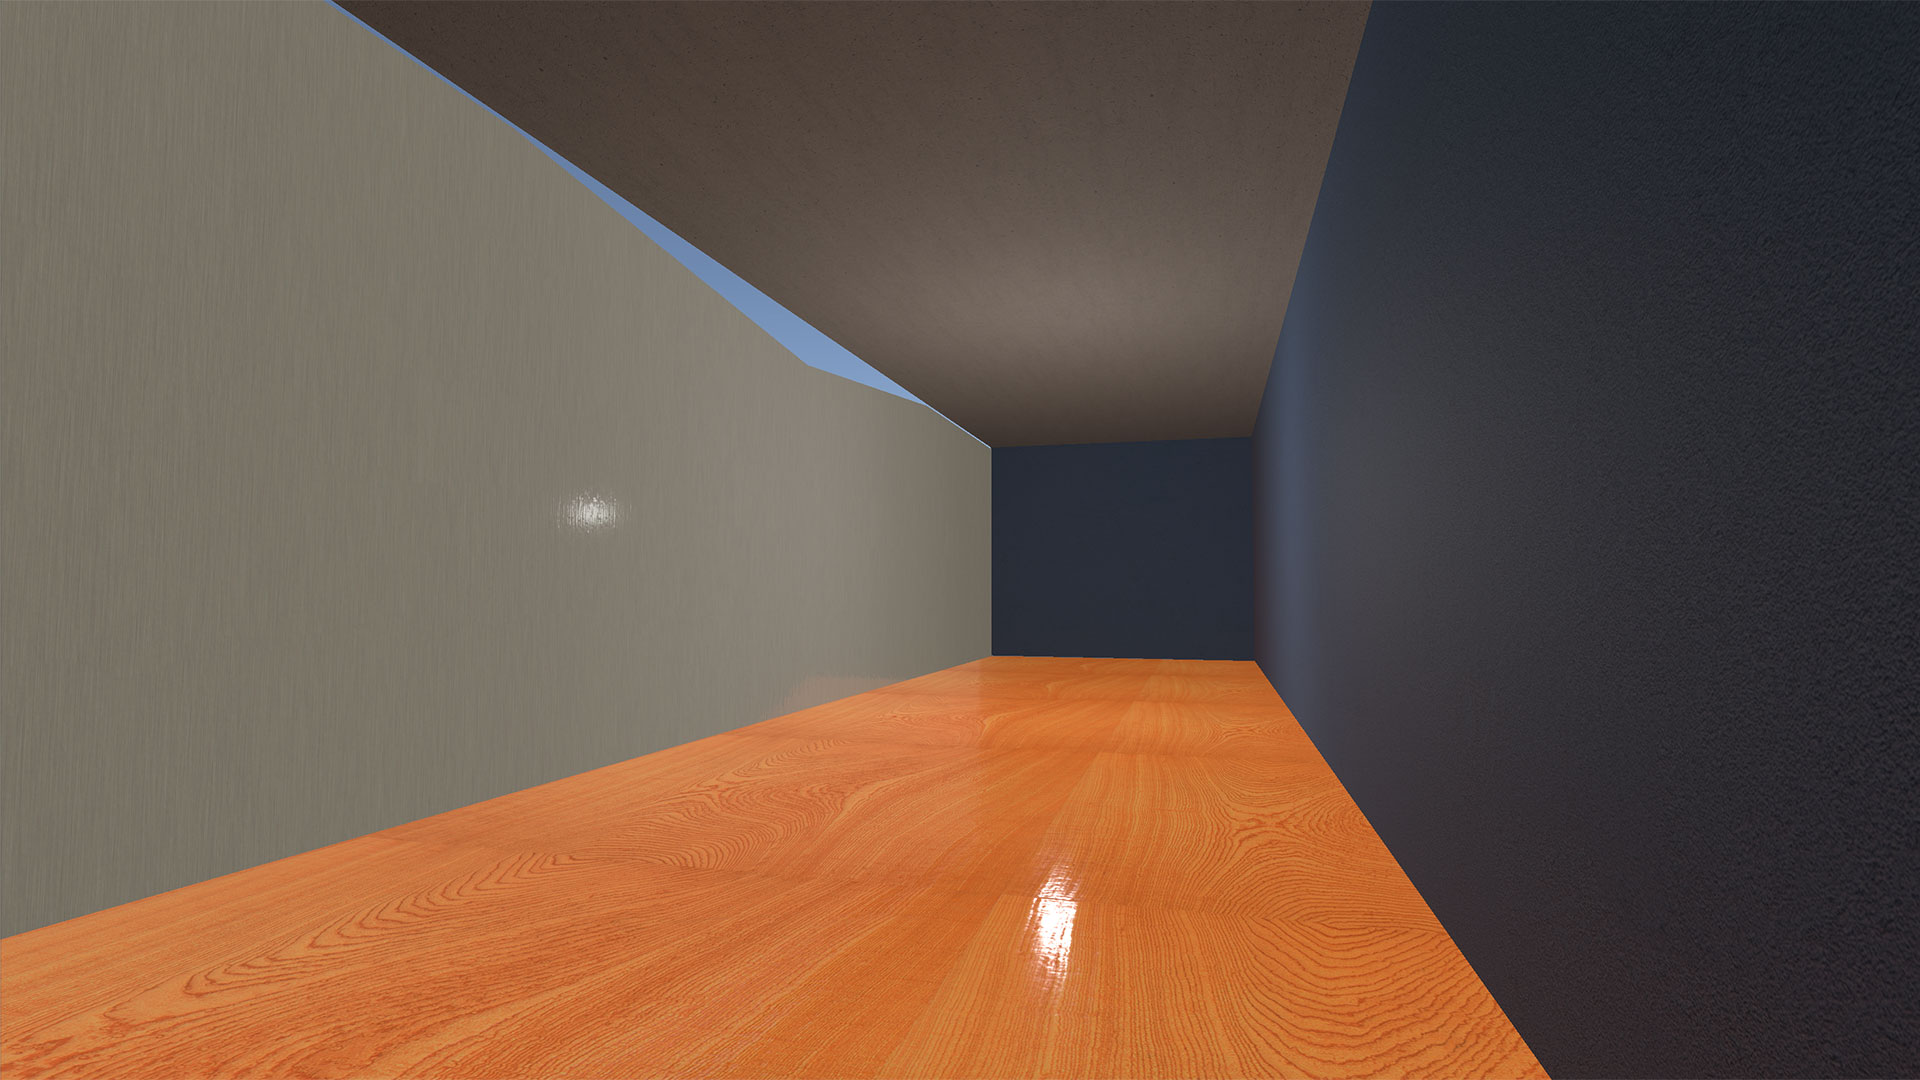
An example scene with indirect lighting and modified lighting settings
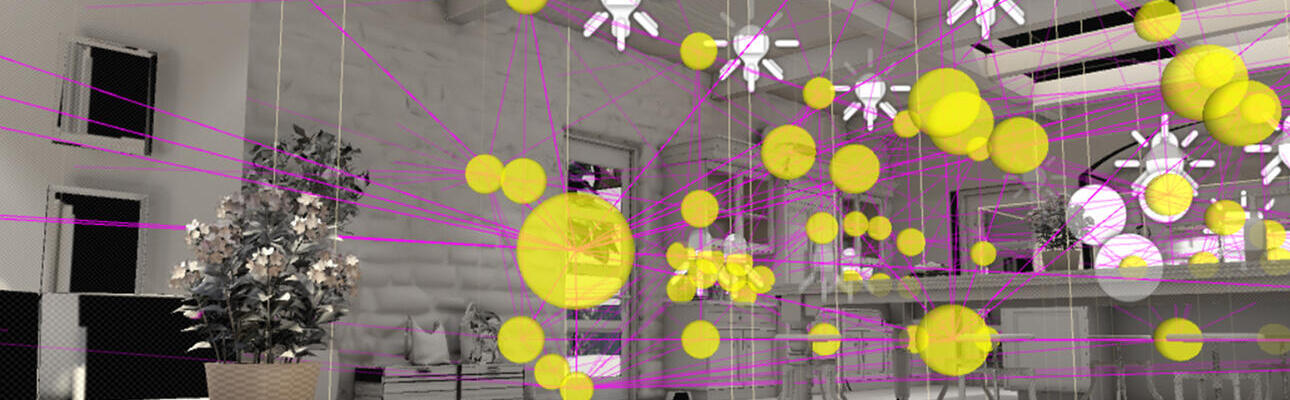
Here we can see the indirect lighting captured onto the light map texture, all these small details would be lost without using either of Unity’s light mapper systems.
3. Reflections
During the refinement phase, we create reflections. Reflections can produce dramatic changes in the look of a scene, however, the only default reflections in Unity are reflections of the skybox (the artificial horizon). To get reflections off of our objects we place reflection probes throughout our scene to capture the reflections of the areas in which the objects are placed.
These reflection probes are essentially a 360 degree camera which stores what it sees into a texture that can be applied into the reflective parts of other objects. If we are creating a high-end racing game, having other cars reflections on the cars may be really important to us, however, if the game were instead about bumper cars (where the cars aren’t usually glossed and don’t generally follow each other) there is less need for this level of reflection.
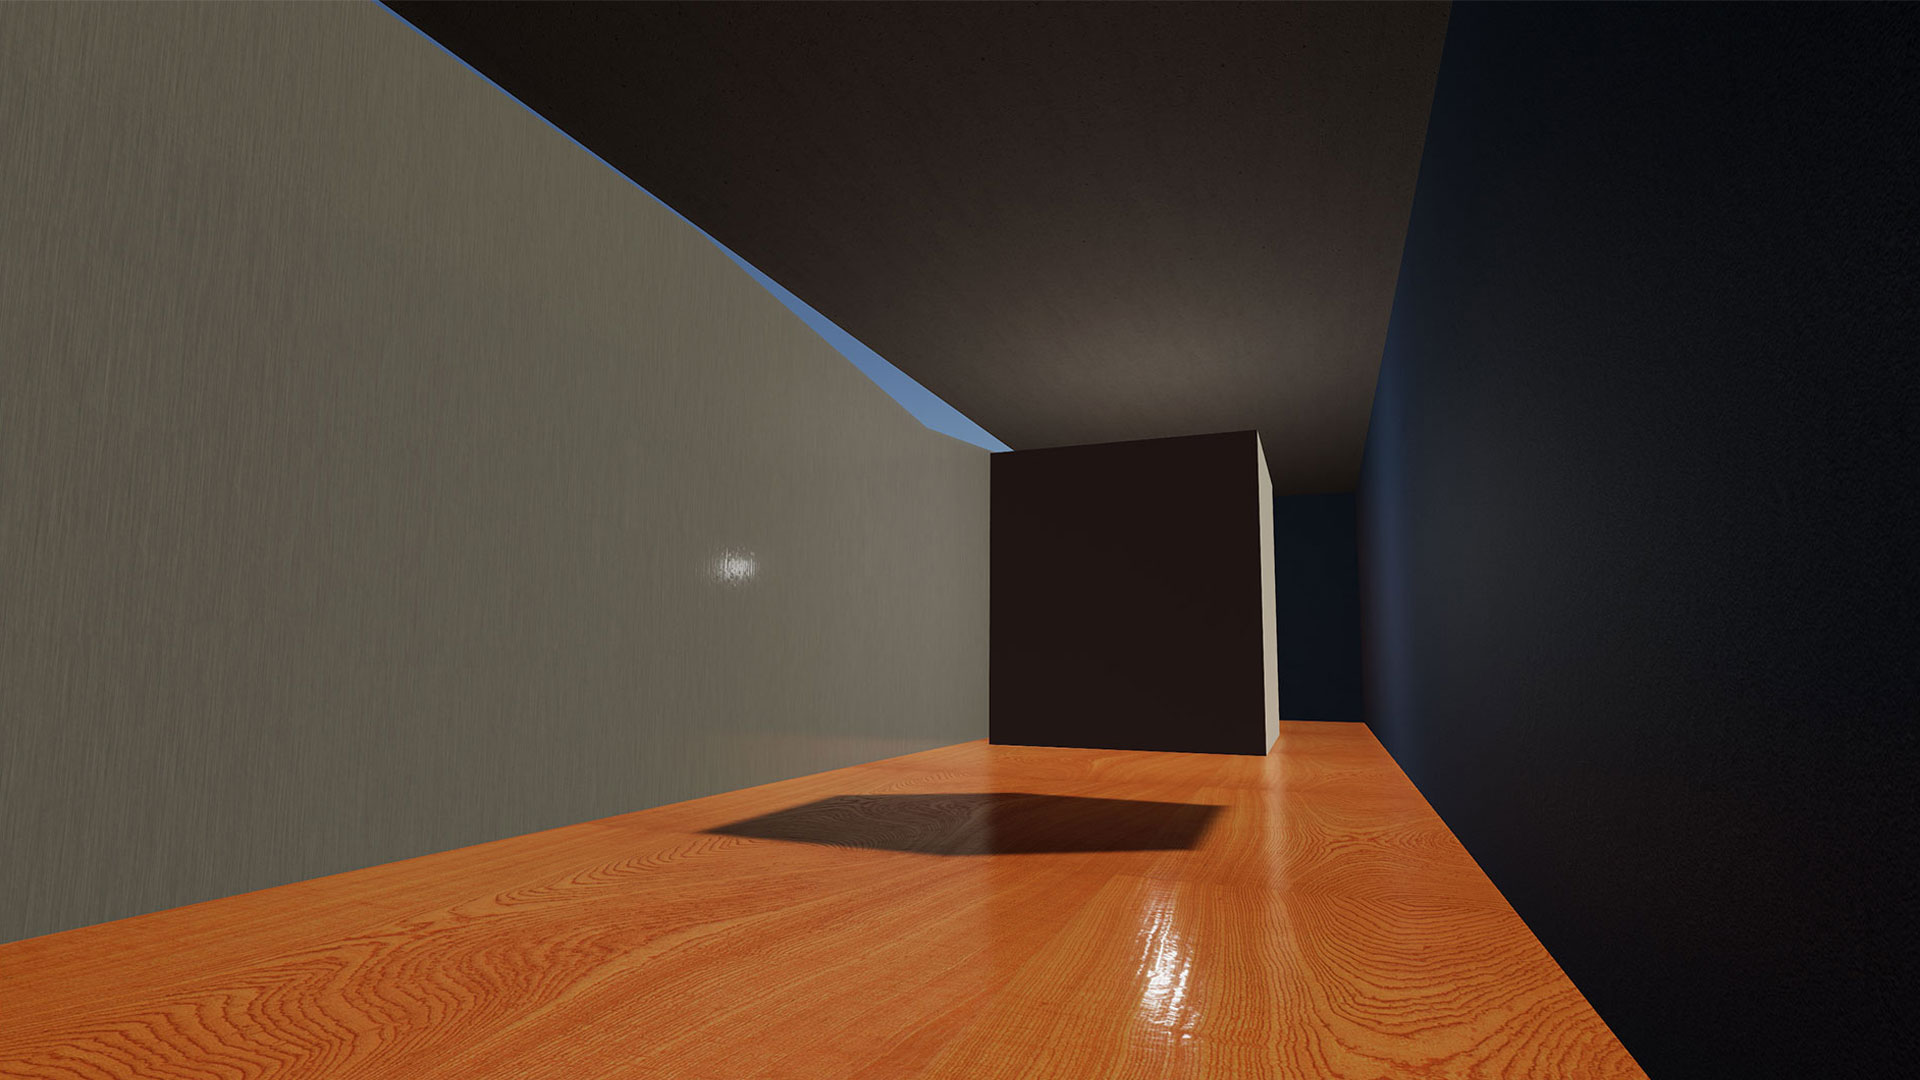
An example with indirect lighting and baked reflections
4. The final bake
During this stage, the real time lights in the scene (if included) can be adjusted, and post-processing effects such as ambient occlusion, vignettes and our colour grading can be implemented.
Once the scene is as close to the artistic vision as possible the final bake can be carried out. This is where it is important to increase the settings on the light mapper; although it will take a lot longer to bake, the result will be much better.
There is no quick-cheat method when it comes to creating realistic 3D lighting; the process is repetitive and requires great attention to detail. However, as we have seen with projects such as our DuPont VR Kitchen work, when done properly the results are worth the effort.
Example final scene after a final bake with post-processing effects

Connected commerce that scales. We design, engineer, and enable seamless ecosystems that connect channels, people, and performance, and convert across every touchpoint.
Learn more